How to rub a portable monitor by hand
Preface
I have an old laptop at home. Except for the dead battery, all other parts are still functioning normally. However, due to the rapid technological changes, this laptop has almost no other uses except browsing the web. It would be a pity to throw it away, but it would be worthless to sell it. So I decided to transform it into a portable monitor, so that I can connect it to a laptop or desktop, play games, watch videos, and let it continue to use its residual heat. By the way, I have transformed the hard drive into a portable hard drive.
Material preparation
- Abandoned monitor
- LED screen driver board
- screen line
- Keyboard
- High voltage board
- Power supply (12V 5A)

These are the main materials. You can buy them directly from a certain store, and the price is not expensive. The power supply comes directly from my dad’s neck massager, which saves money.
Transformation process
- Disassemble the notebook monitor and take out the screen.
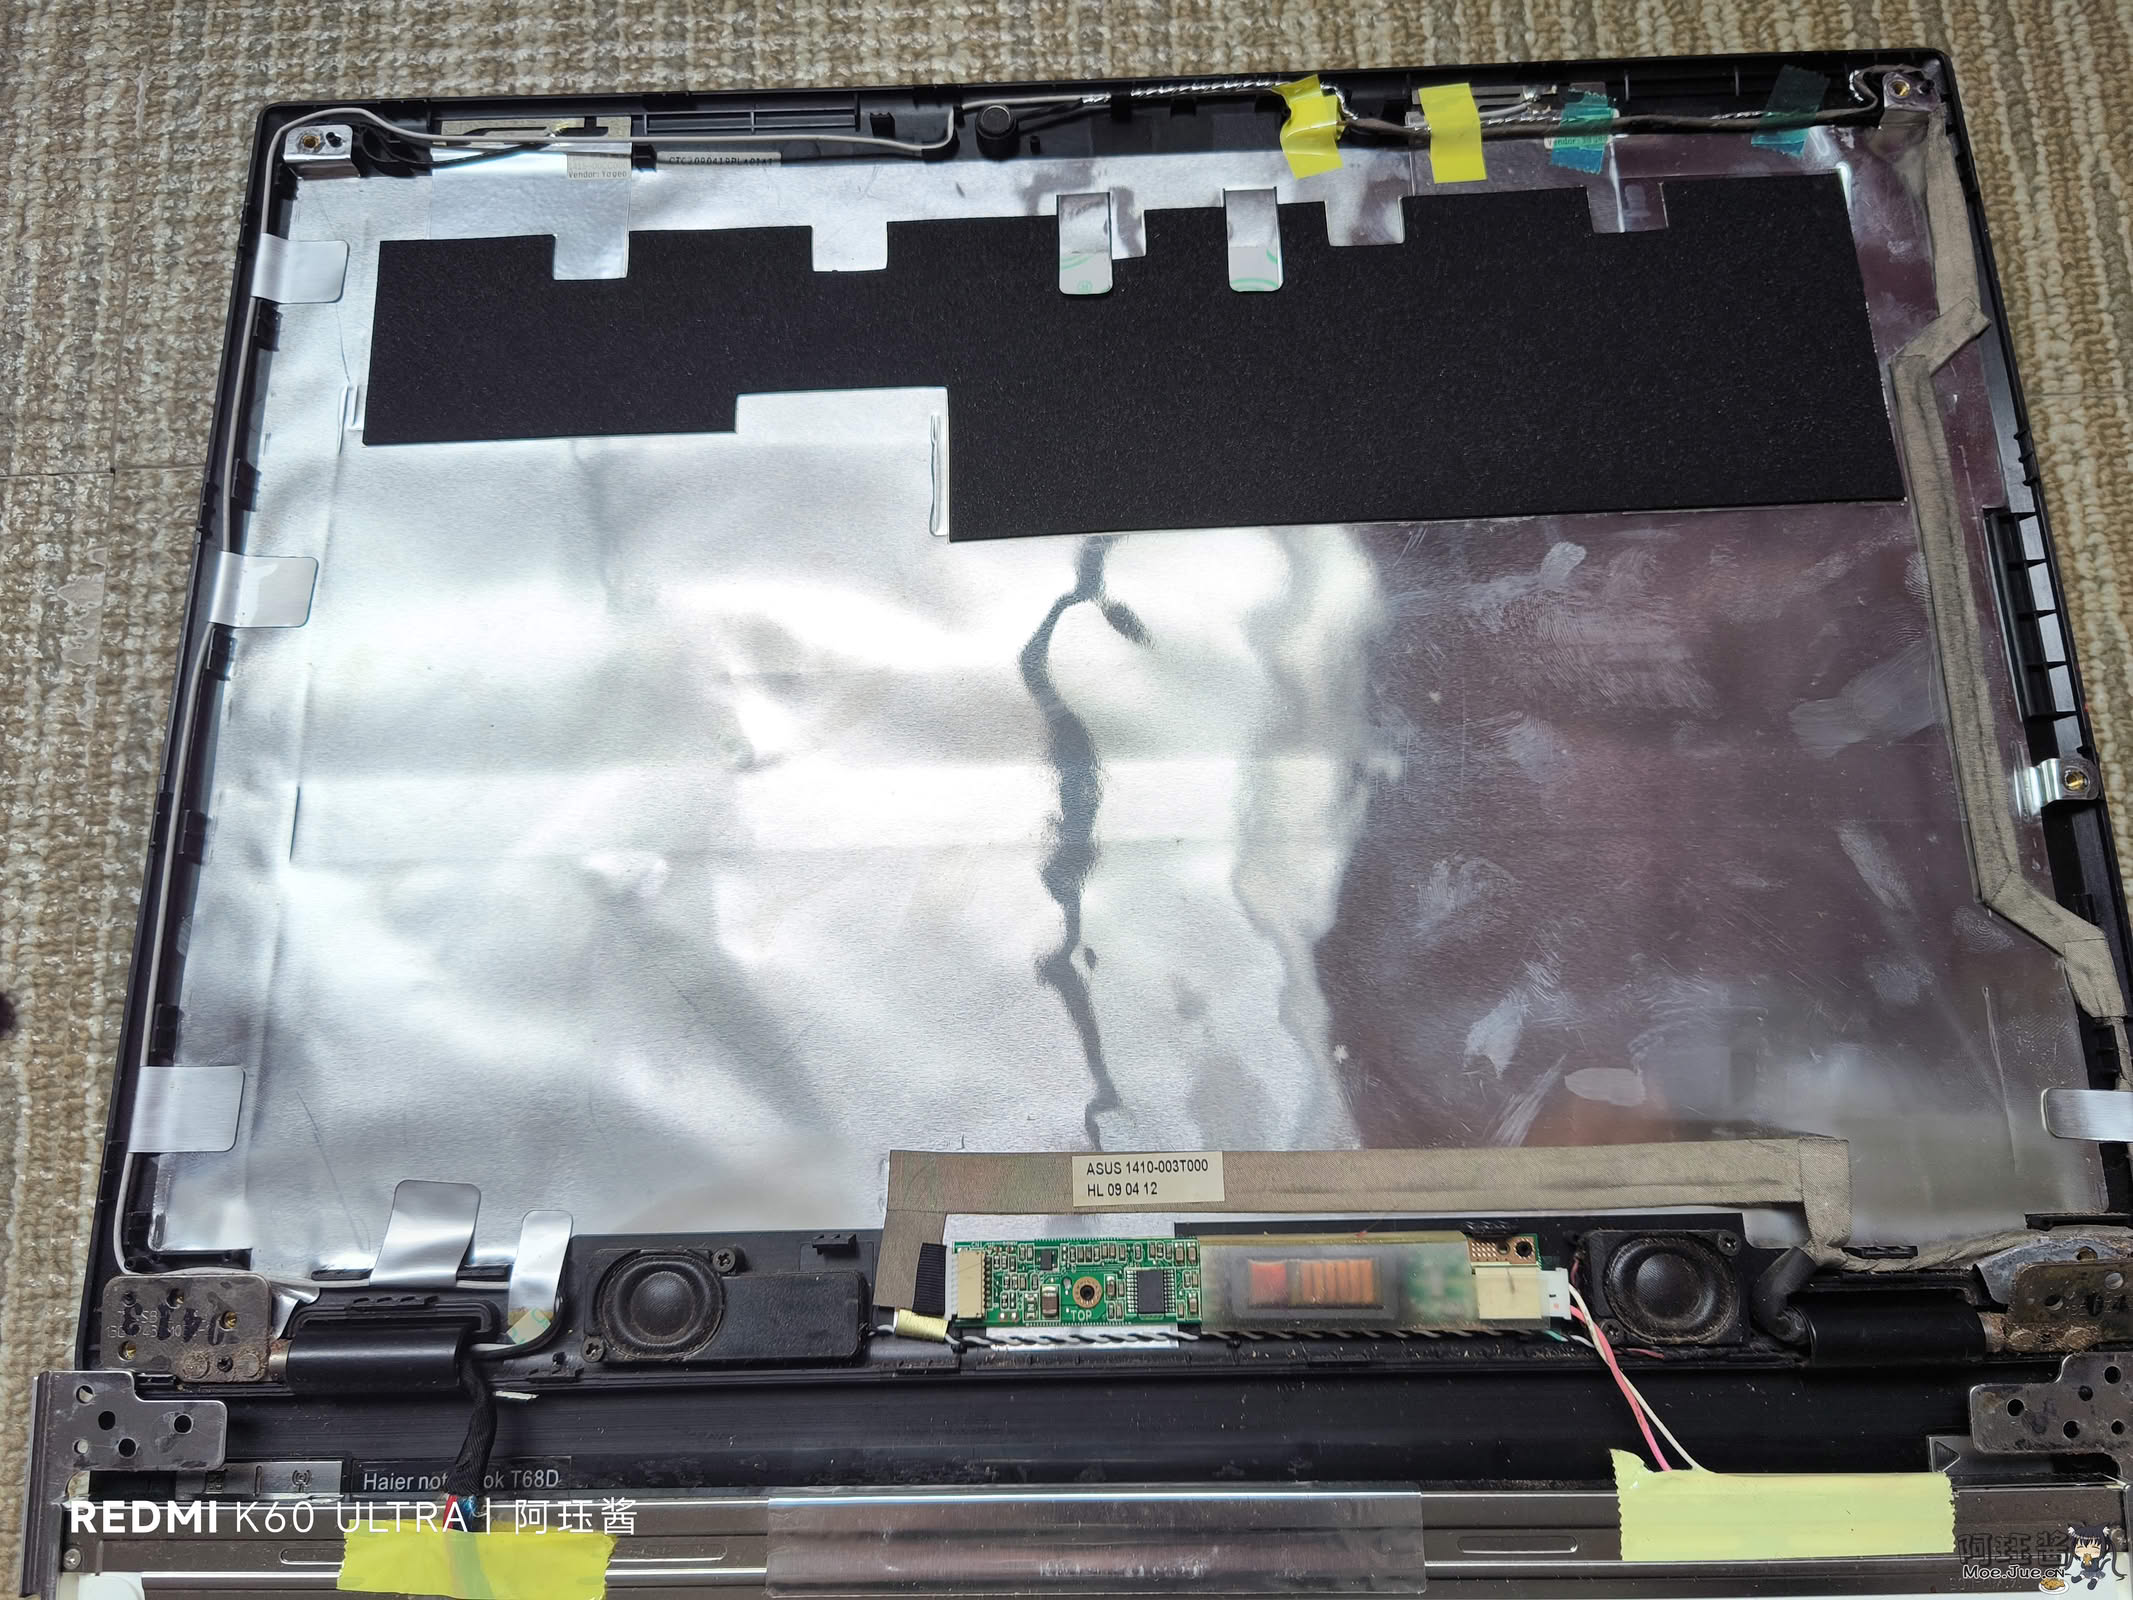
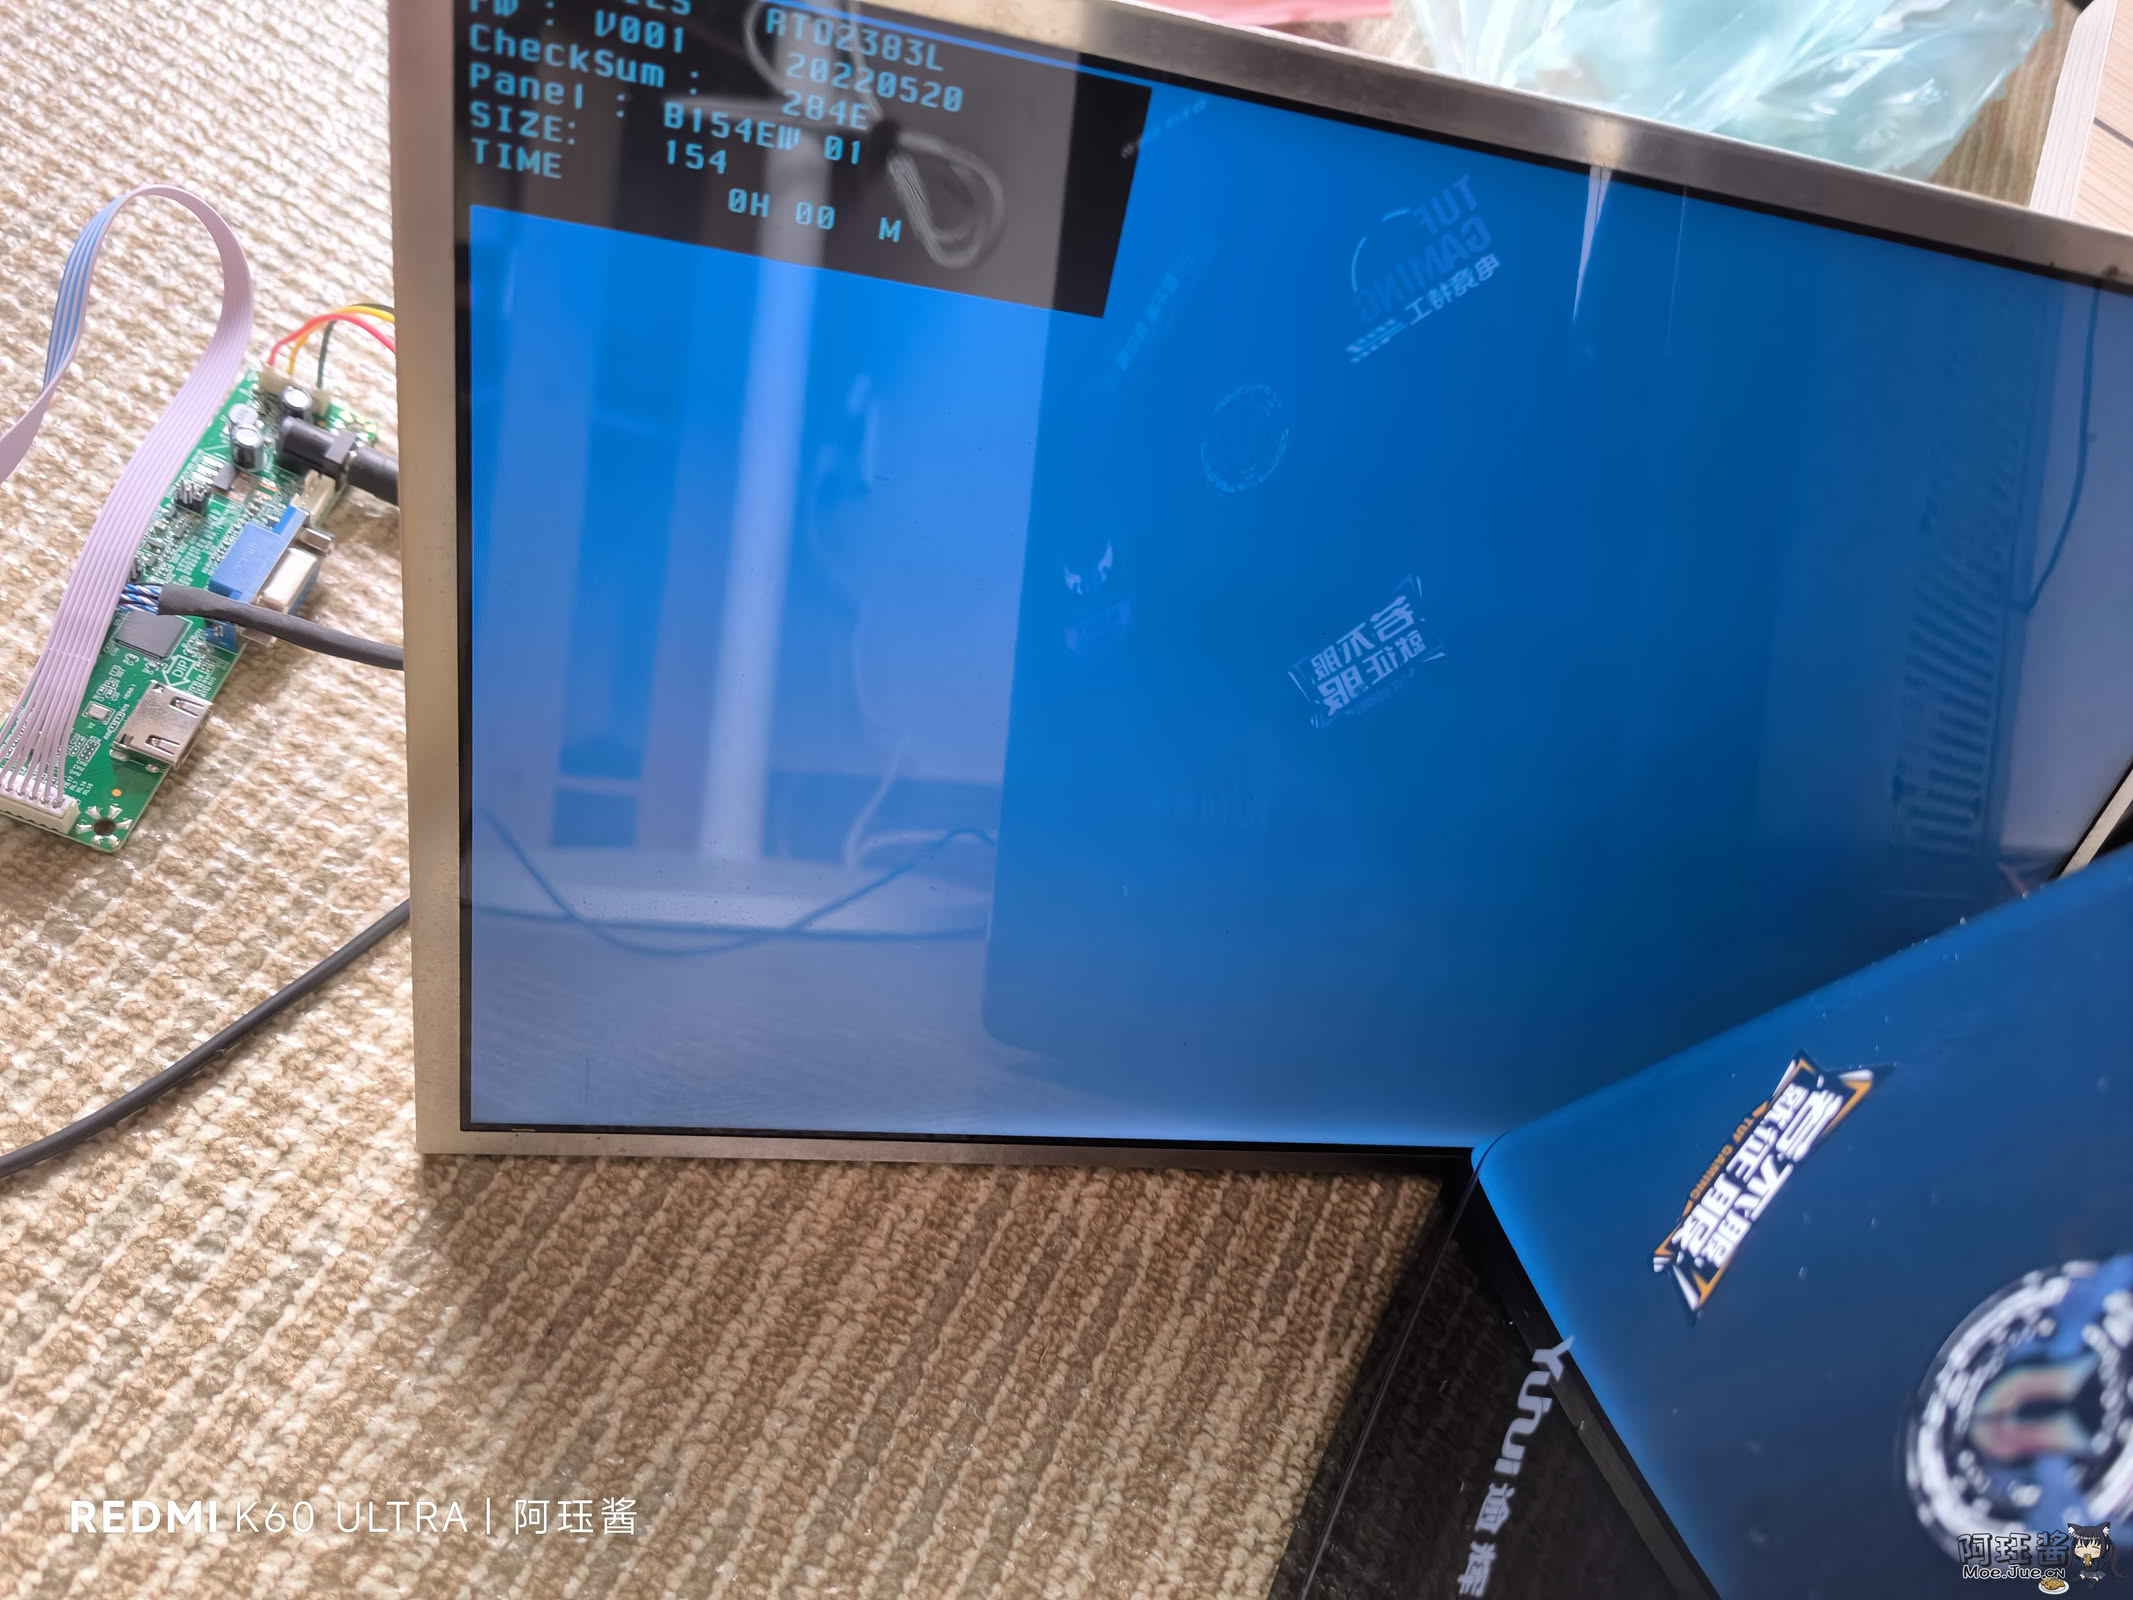
 If you don’t know the driver board corresponding to your screen, you can take a photo of the parameters behind the screen and send it to the merchant, and they will recommend a suitable driver board to you based on your parameters. Of course, if you are a circuit expert, you can also design the drawings and prototype the driver board by hand.
 - Connect the wiring and fix it with hot melt glue
 ps: Hot melt glue is really a poor man’s 3D printer
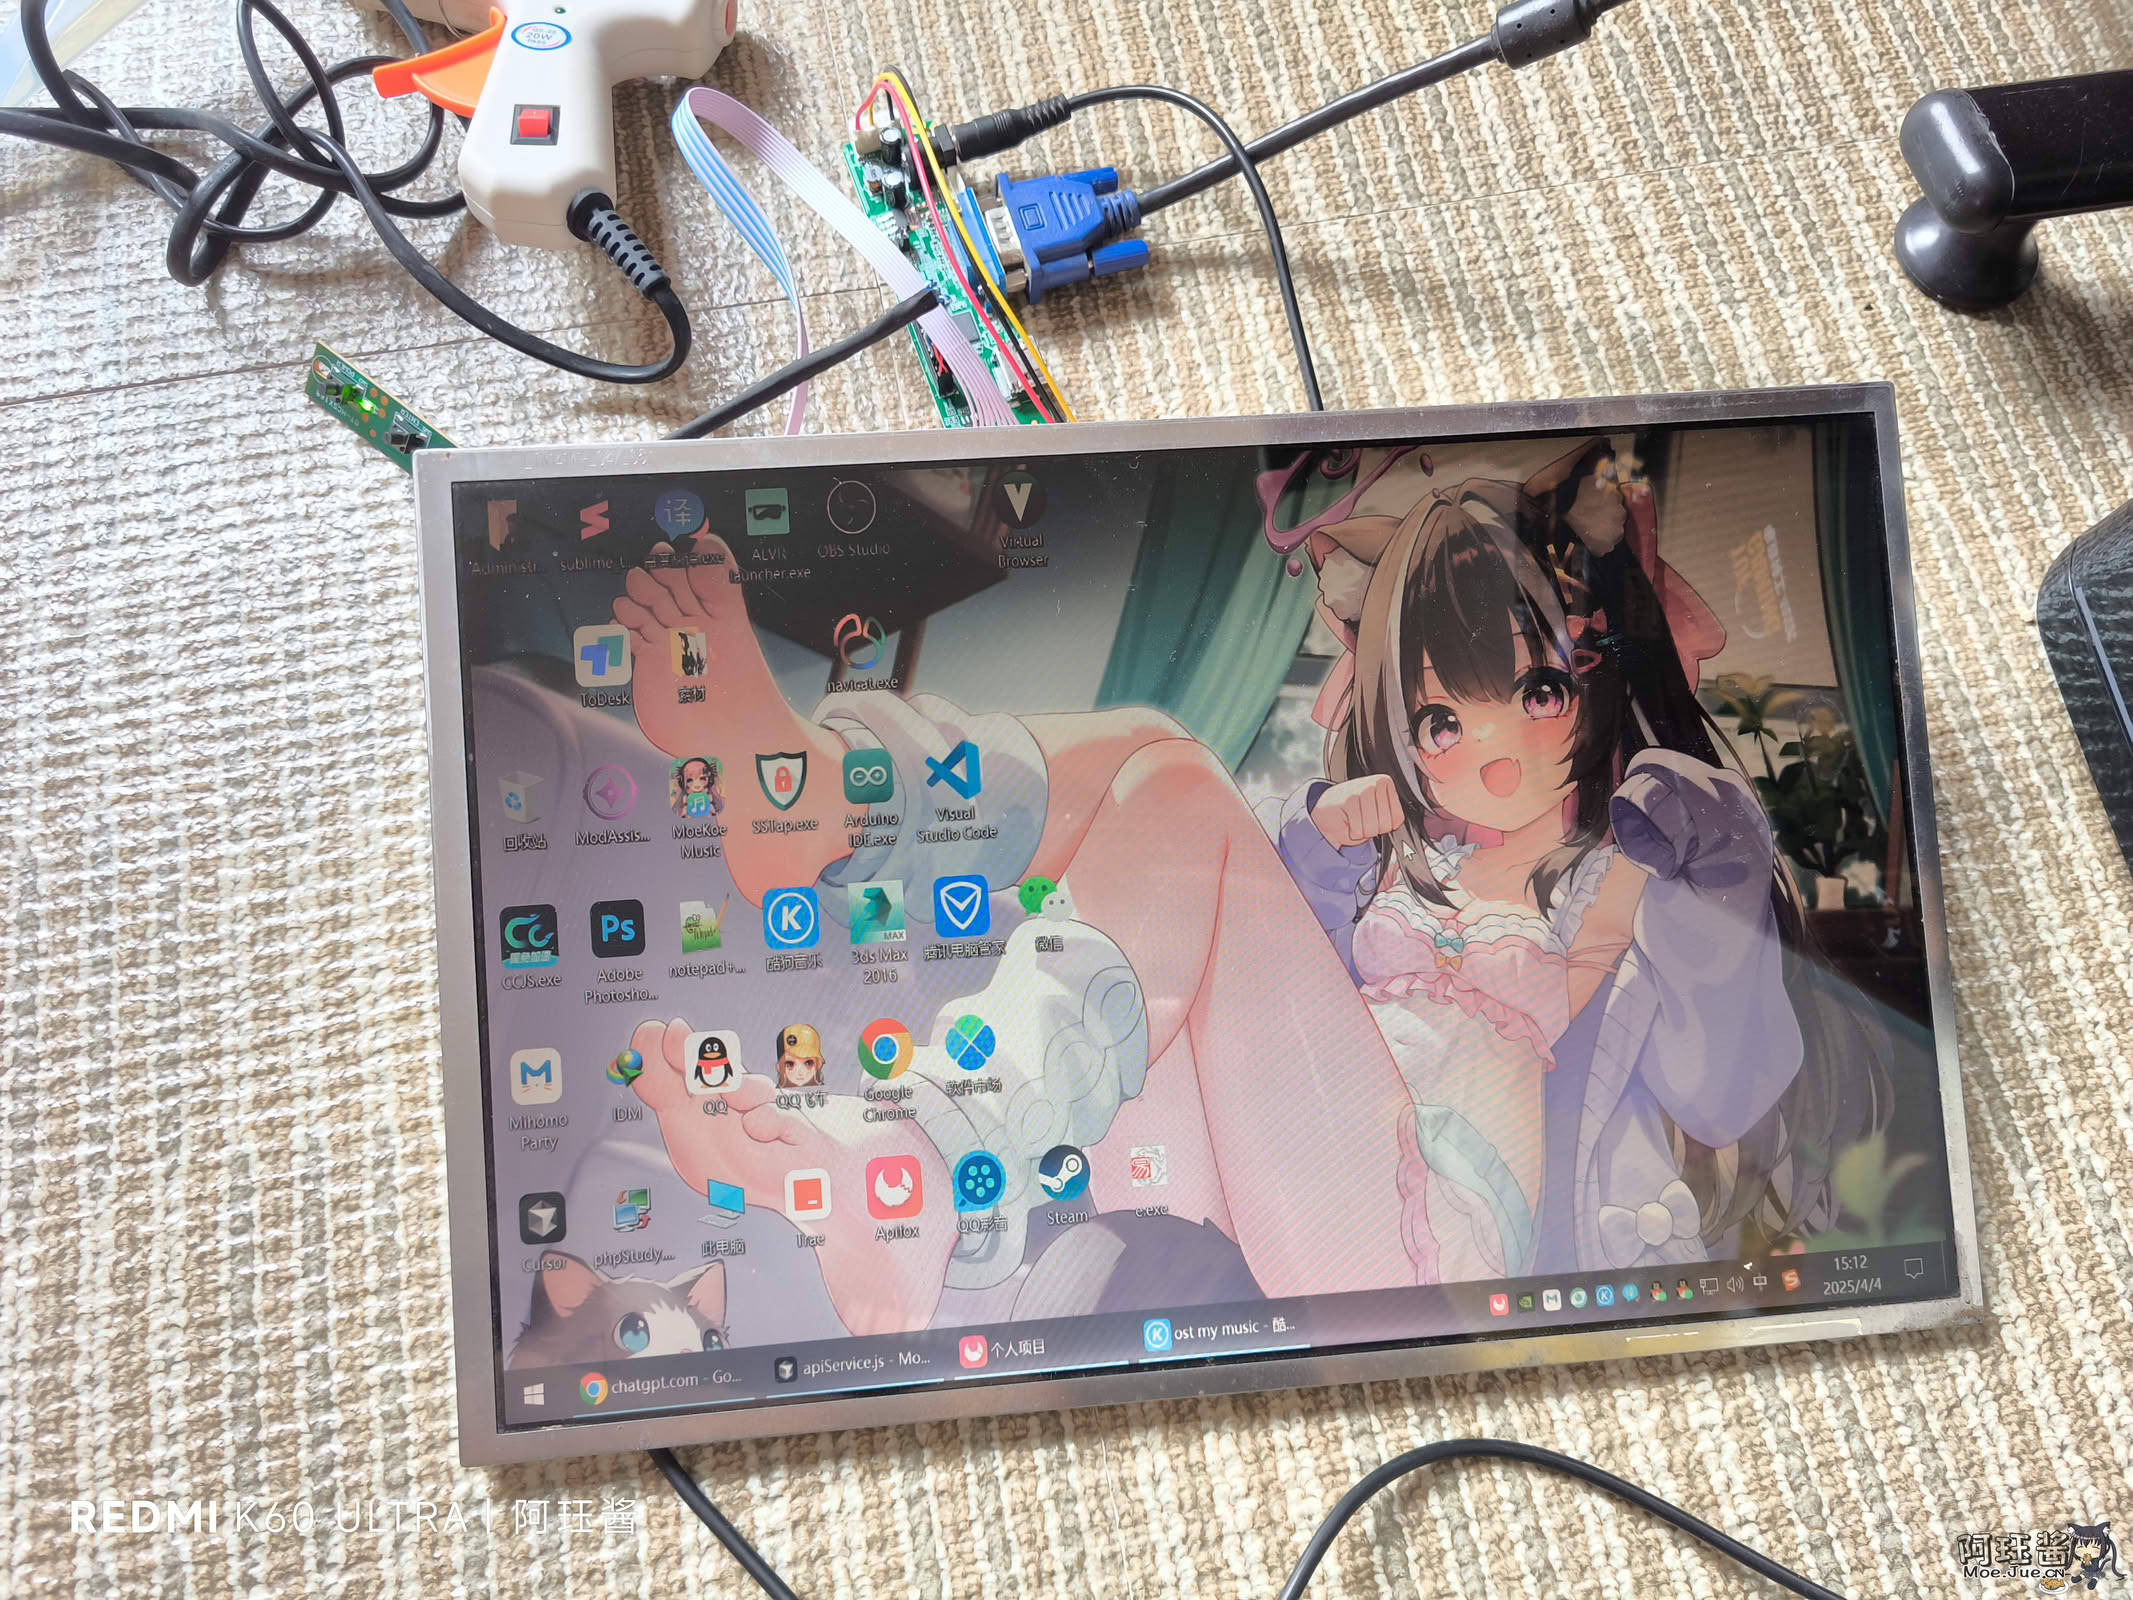
 - Power-on test
 In order to save trouble, I have asked the merchant to install the corresponding driver for me.
 - Access signal
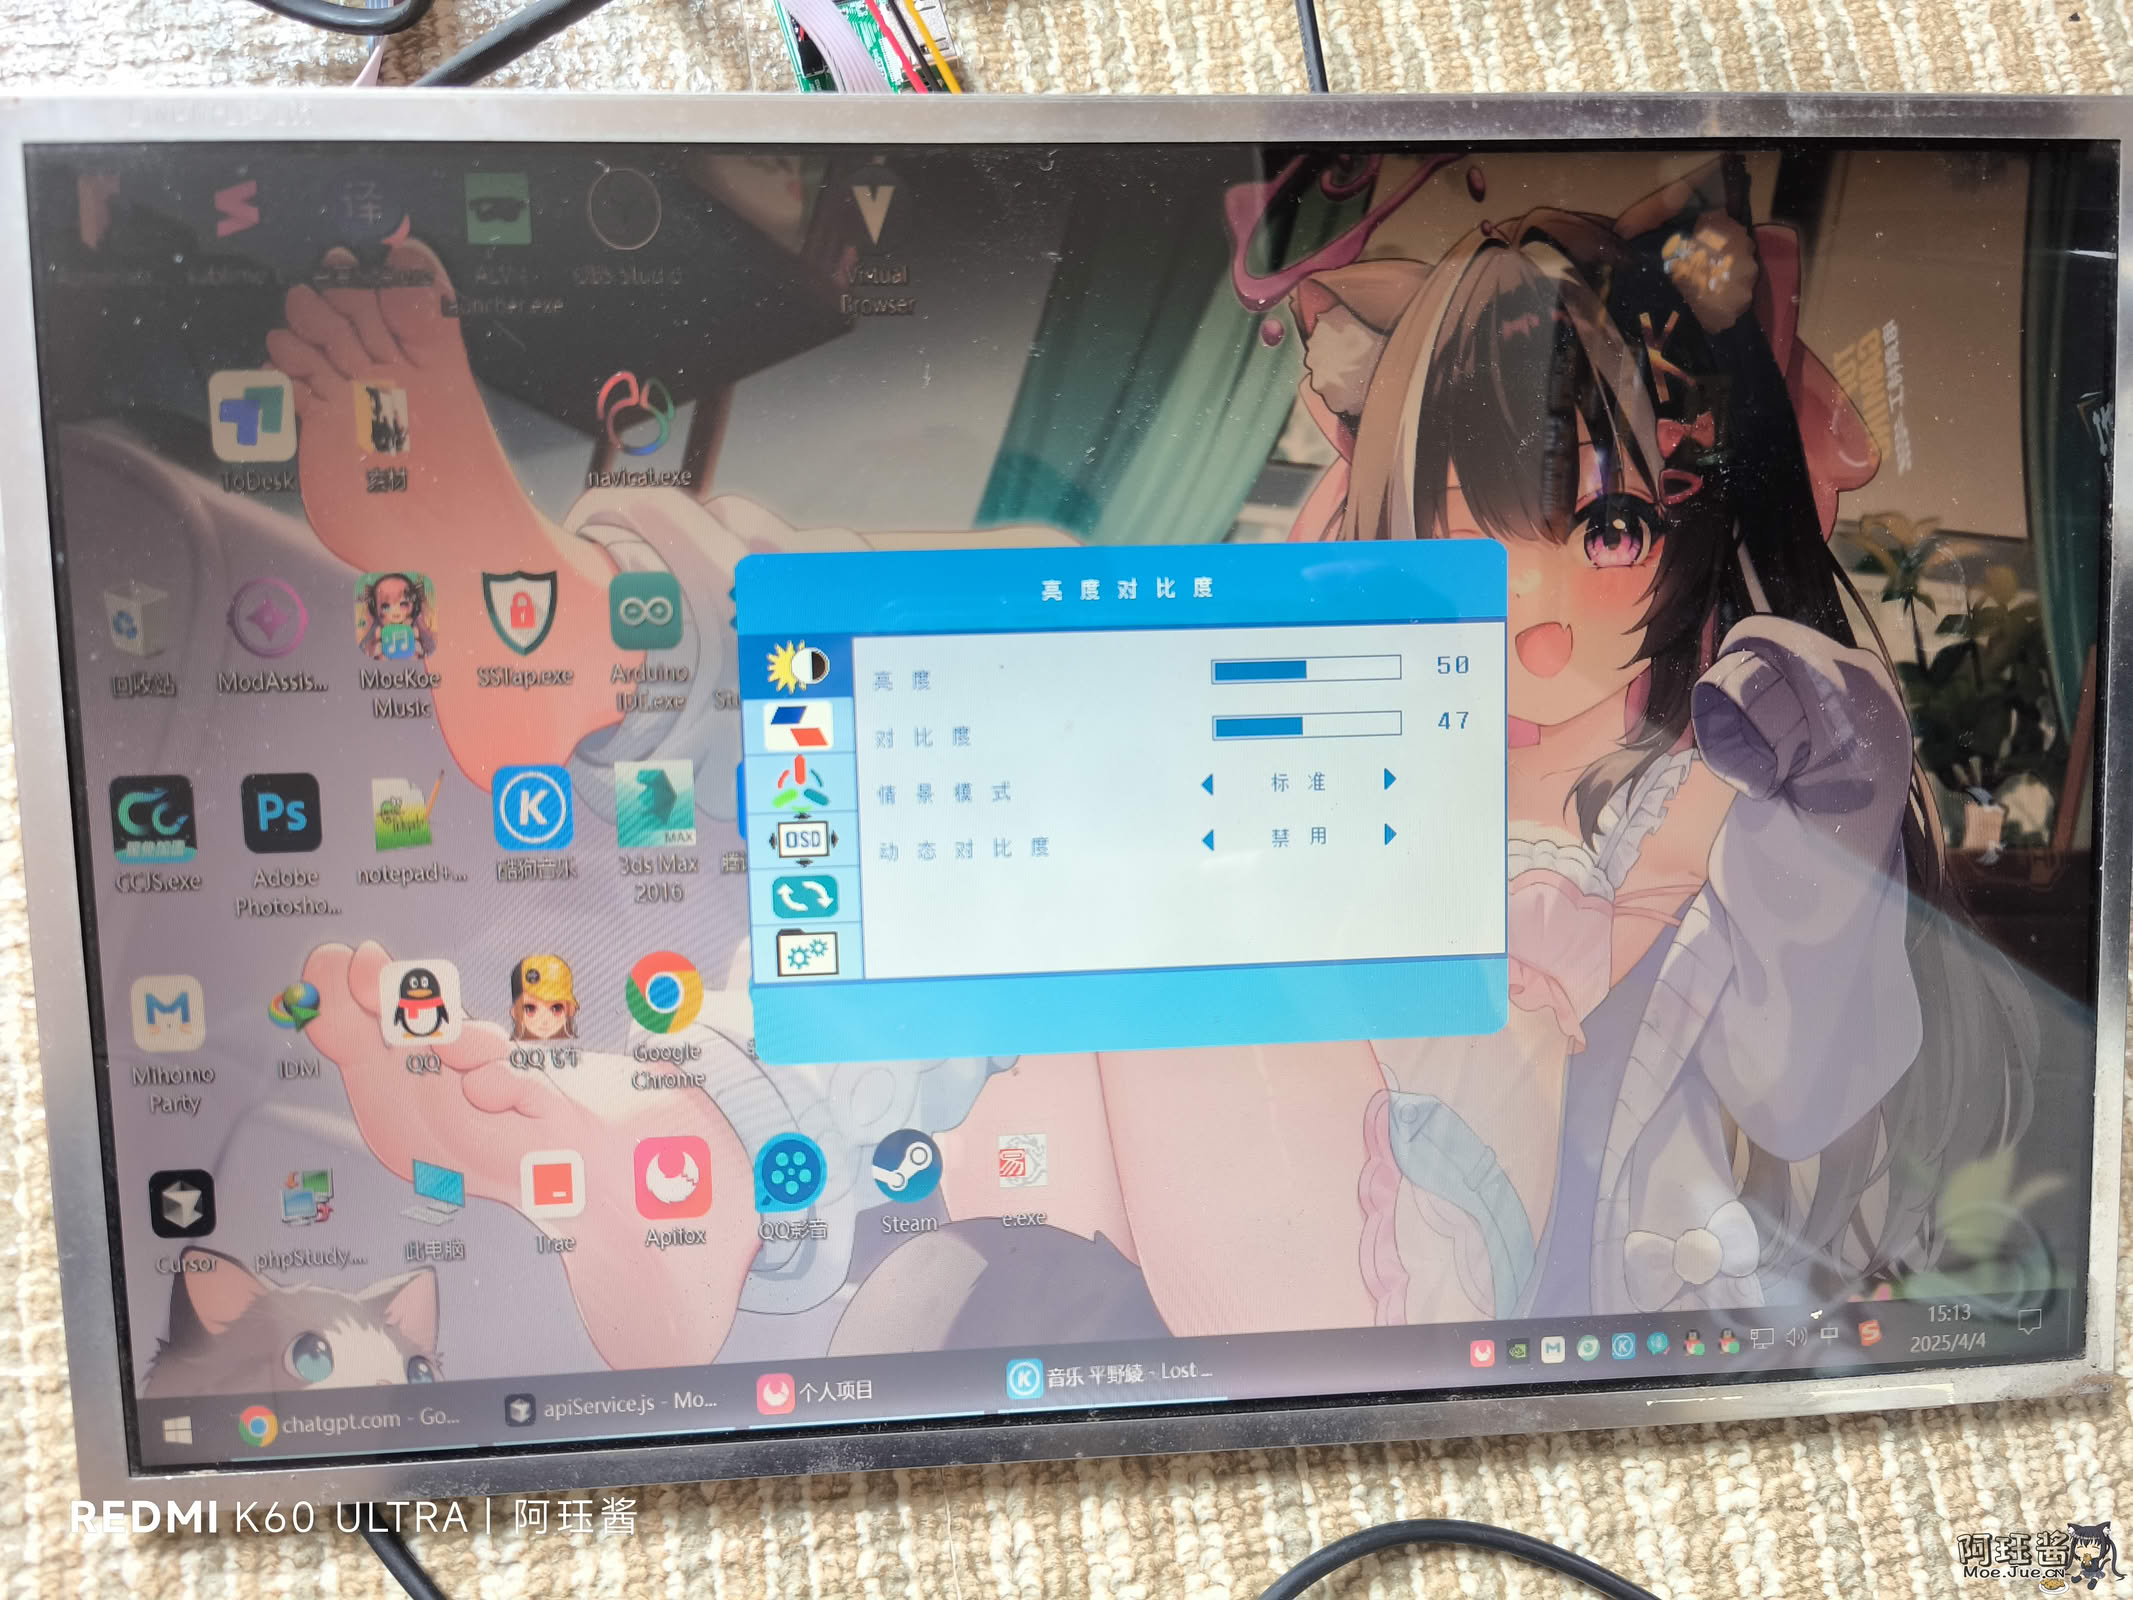
- Test keypad function adjustment
- Use corrugated paper to make a shell
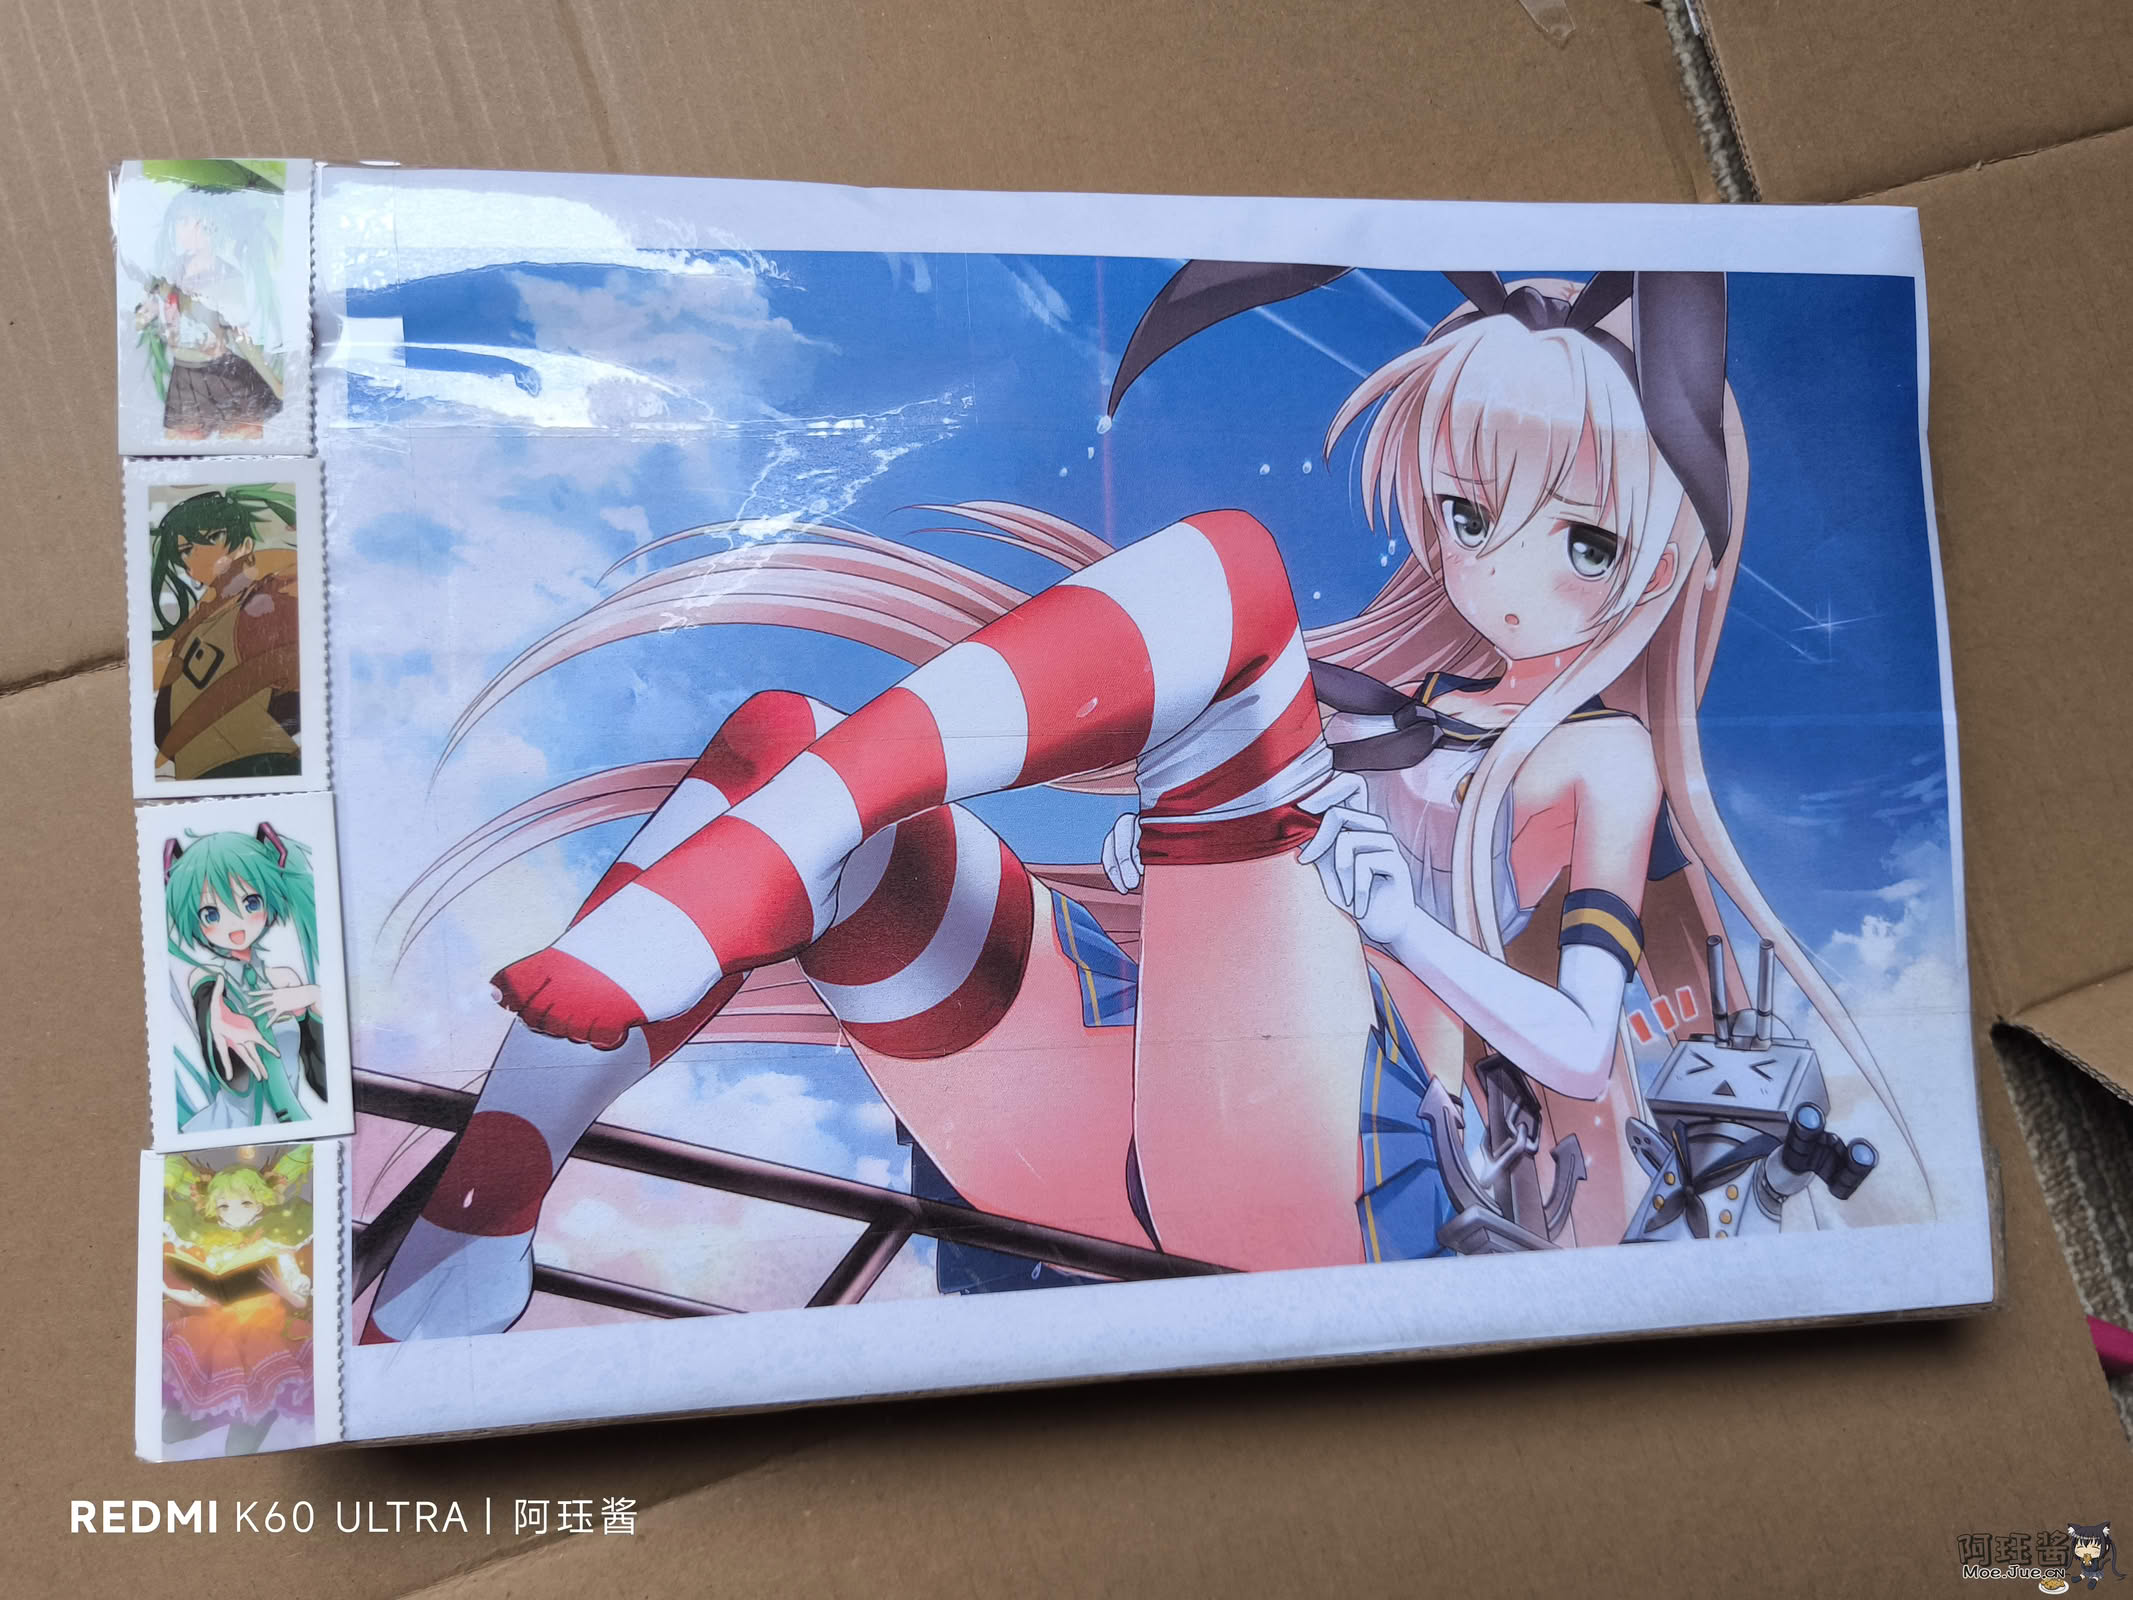 It seems that I have a good talent for making shells out of waste paper. I even posted a wallpaper because I was afraid it would be too ugly. Friends who have a 3D printer at home can design and print the shell directly, and the effect will be better.
Finished product:
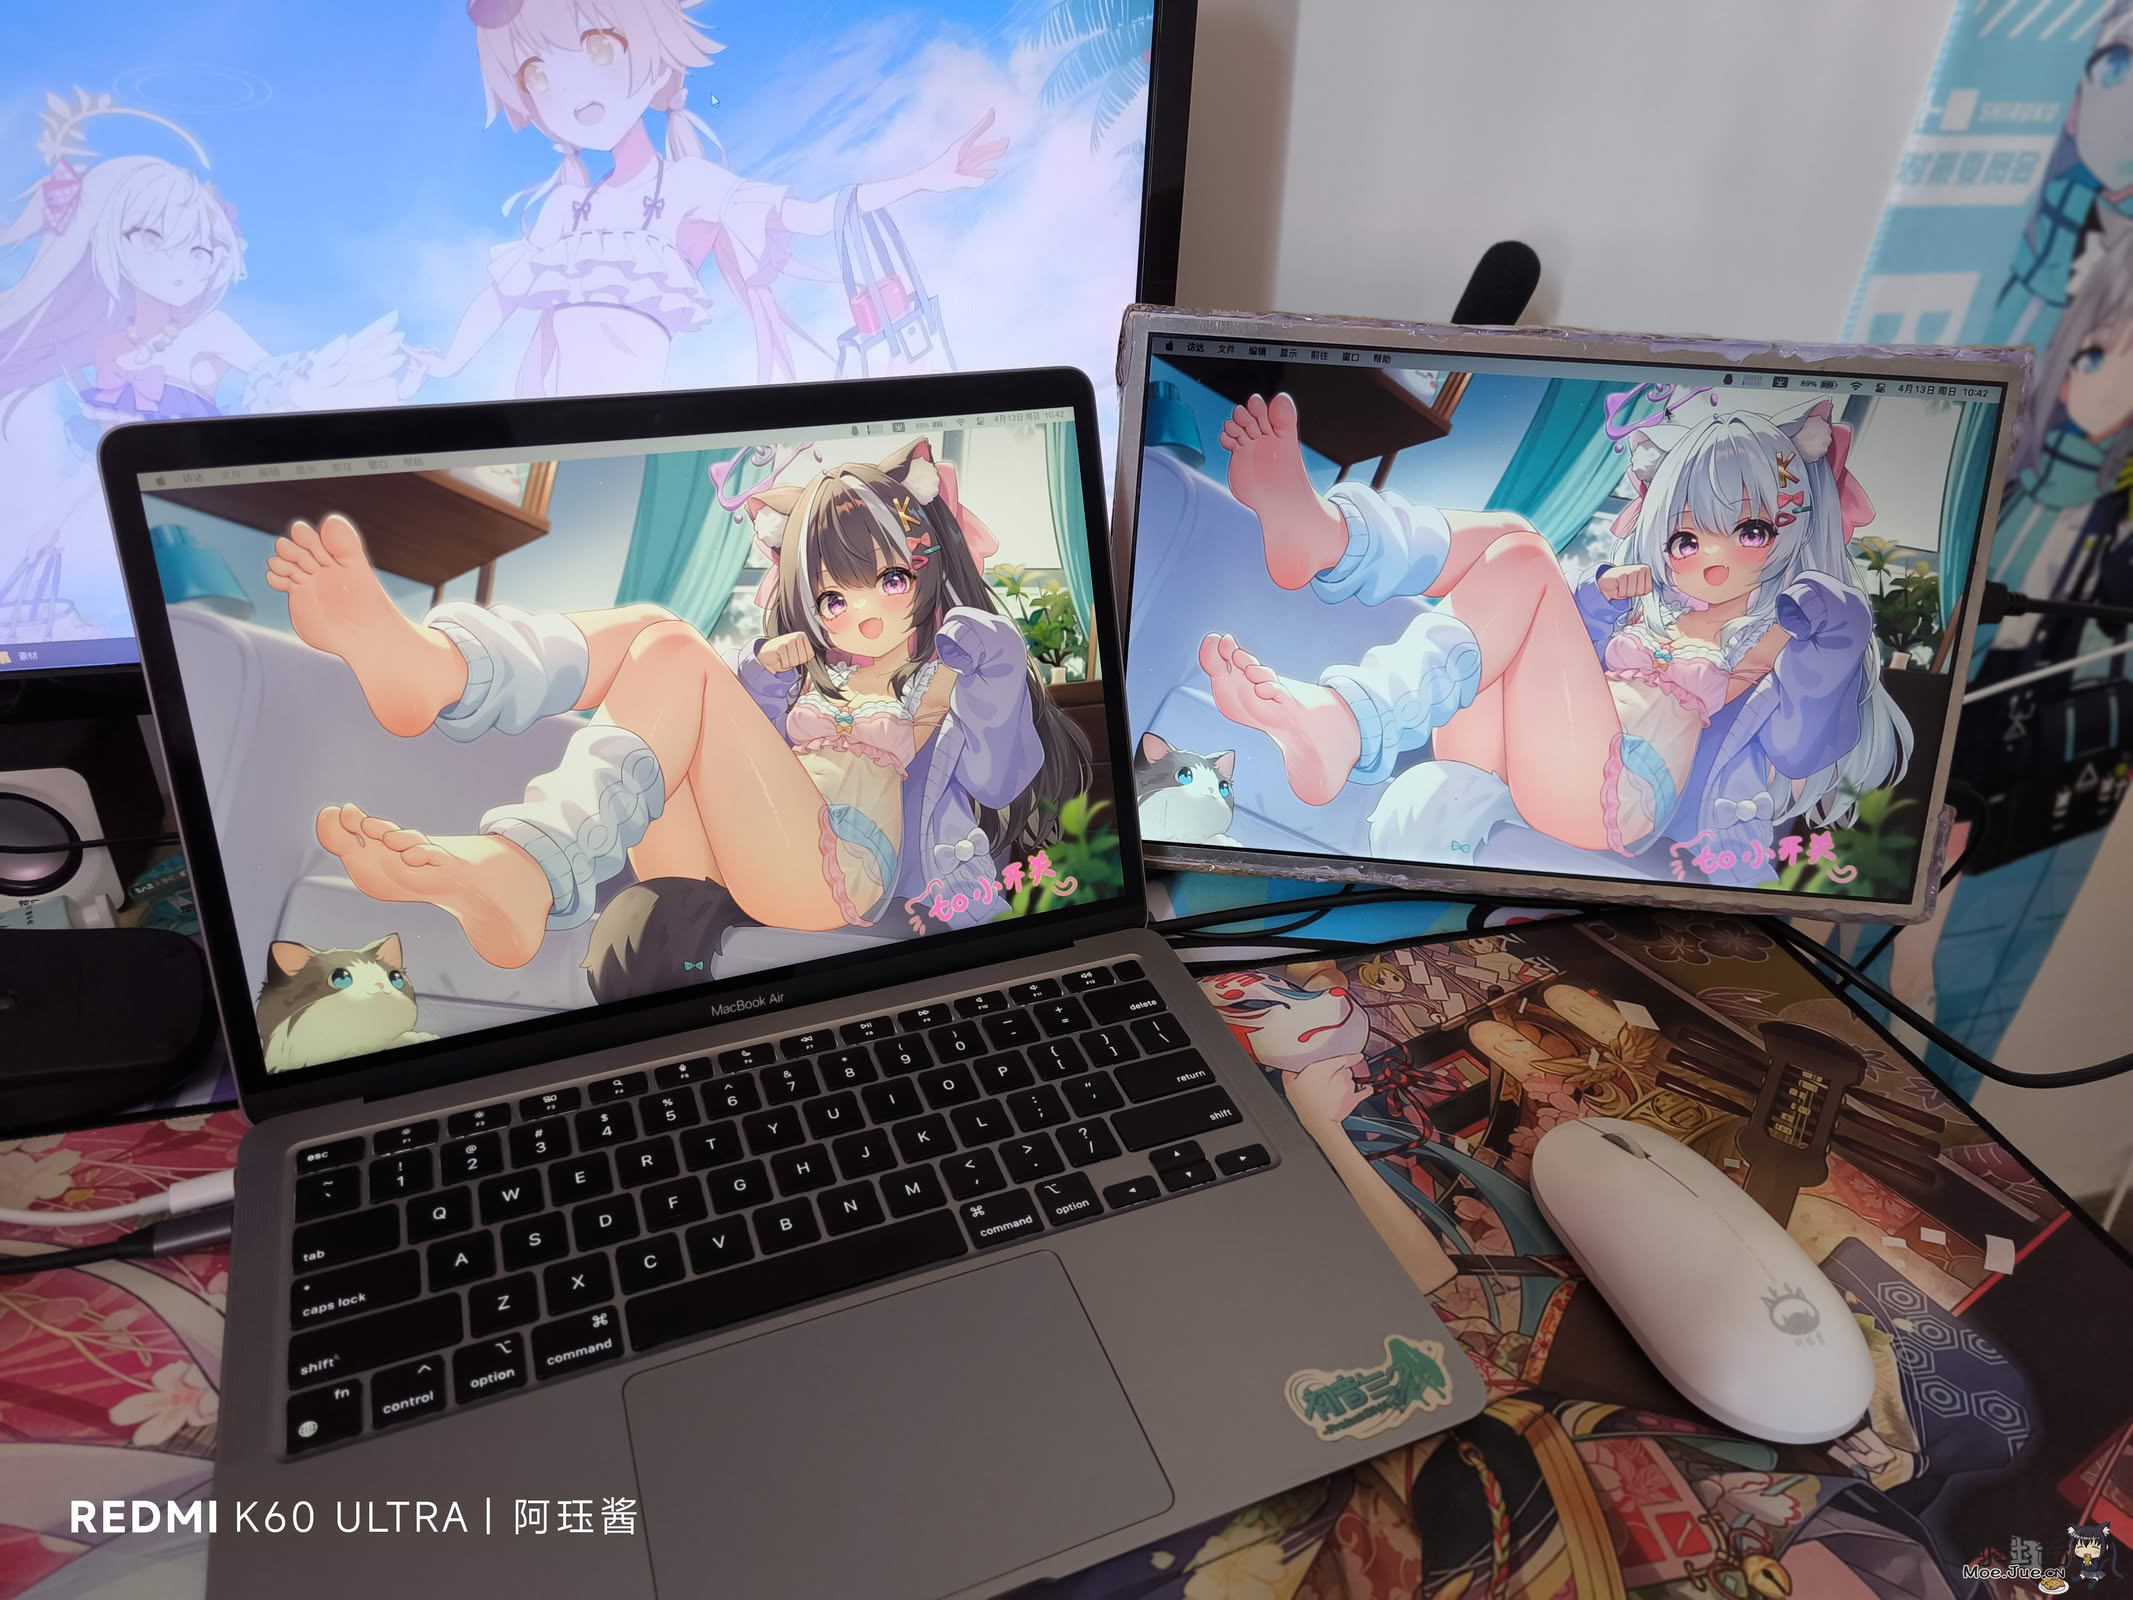 The front is a little ugly with hot melt glue.